General Poster Design Tips
This document contains tips on how to utilize tools in PowerPoint to design a poster. It will cover adding and formatting images, charts, shapes, and text boxes. It will also cover aligning these items to make sure that there are nothing is out of place in the final poster.
Images
Use high-quality images that contribute to your poster to grab the audience’s attention
- 200dpi (dots per inch) or higher is standard
- Simply adding “high quality” in a google search for images can bring up better photos
- Keep lower quality pictures smaller if you need them for your poster


To add photos to your poster in PowerPoint:
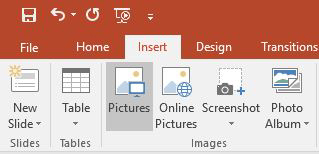
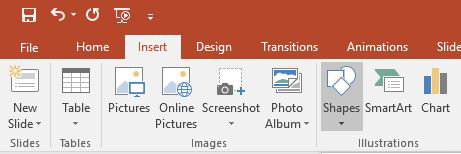
- Click on the Insert Tab on the ribbon at the top of the screen in PowerPoint

- In the Images section at the top left of the screen, you can select Pictures to find a file on your computer
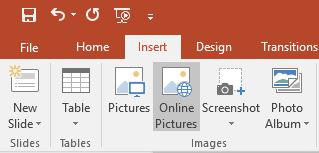
- Select Online Pictures to conduct an online image search
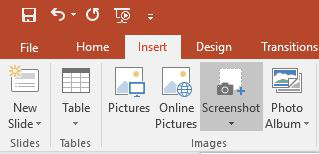
- Select Screenshot to take a photo of a webpage or graph on your screen
Charts
Charts and graphs must be readable for the information to be conveyed
- Creating charts and graphs in PowerPoint ensures everything is readable
- If you must take a chart and/or graph from your source and it’s pixelated:
- See if you can recreate it in PowerPoint
- Save it as a higher quality file
- Make the chart or graph smaller on the poster
To create charts and/or graphs for poster in PowerPoint:
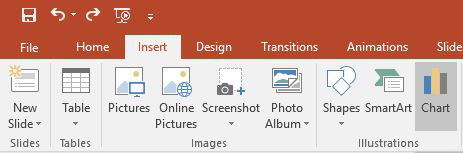
- Click on the Insert Tab on the ribbon at the top of the screen in PowerPoint
- In the Illustrations section at the top left of your screen, select Chart
- When the Insert Chart box pops up, select the chart or graph that you want for the poster

- Enter the data in the green Chart box below your chart or graph
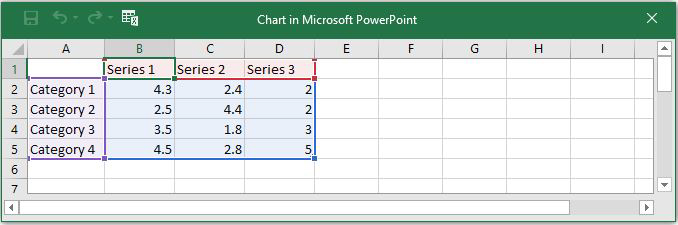
- With your chart or graph selected, click on the Design Tab under Chart Tools to change its color(s) and style

Shapes
Shapes can be used on posters as backgrounds or outlines for other objects
- Create a solid shape behind textboxes or photos
- Keep shape styles and colors relatively consistent to avoid confusion
- Use a different color sparingly to draw attention to text or a photo
To add shapes to your poster in PowerPoint:
- Click on the Insert Tab on the ribbon at the top of the screen in PowerPoint
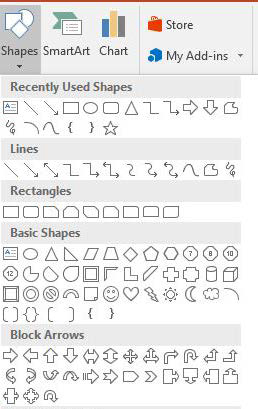
- In the Illustrations section at the top left of your screen, select Shapes
- When the dialogue box appears underneath Shapes, click on the shape you want for your poster
- Click and drag your mouse across the screen to create your shape
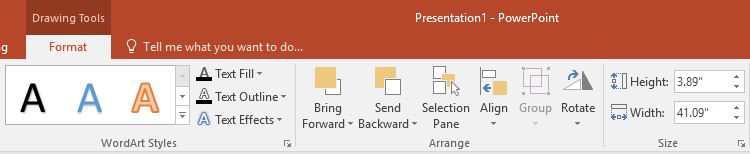
- With the shape selected, click on the Format Tab under Drawing Tools to customize the style, color, height, and alignment of your shape.

Text Boxes
Text boxes that are clear and concise are key in order for audiences to understand the research
- Text boxes should be readable from a short distance
- USU’s Office of Research site suggests:
- 72 pt. font or bigger for Title
- 40 pt. font for Headings
- 28 pt. font for Body
- 24 pt. font or smaller for Captions
- USU’s Office of Research site suggests:
- Keep font size and style fairly consistent throughout to look uniform and professional
To add text boxes to your poster in PowerPoint:
- Click on the Insert Tab on the ribbon at the top of the screen in PowerPoint
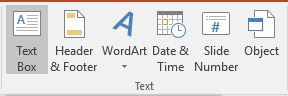
- In the Text section at the top right of your screen, select Text Box
- Click and drag your mouse across the screen to create your text box
- Right click on the text box to edit text, font style and size, and access other customizations
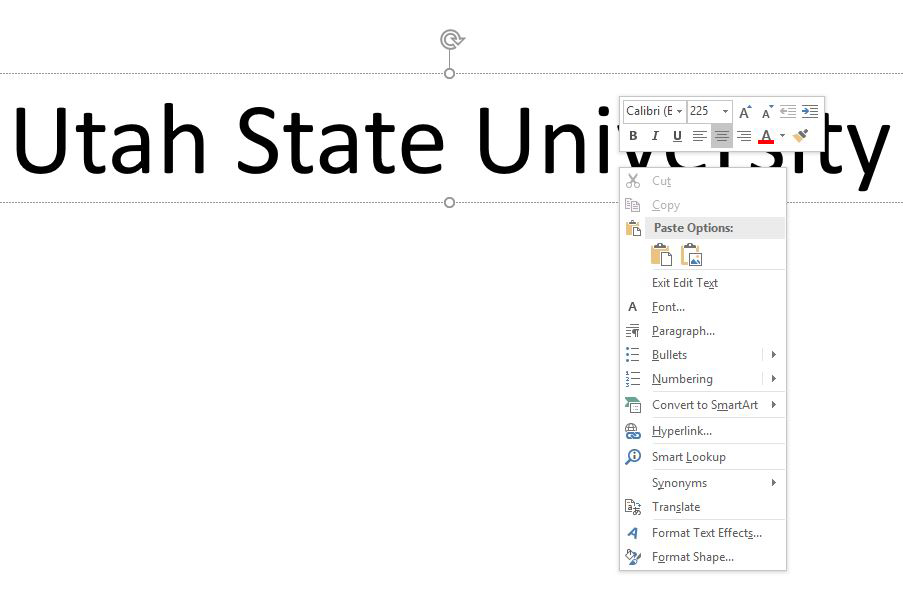
- With the textbox selected, click on Format under Drawing Tools to customize the size, arrangement, alignment and text effects of the text box
Alignment
There are a few ways to make sure items on your poster stay aligned
- Shift Key
- Hold down the Shift key and click on the objects you want to align
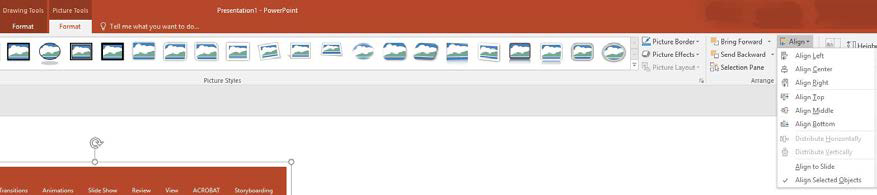
- Click on the Format Tab underneath Drawing Tools or Picture Tools
- In the Arrange section in the top right of your screen, select Align, and then click on which alignment you would like for your objects
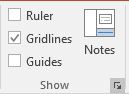
- Grid Lines
- To access grid lines, click on the View Tab in the ribbon at the top of the screen
- In the Show section at the top of your screen, check Gridlines
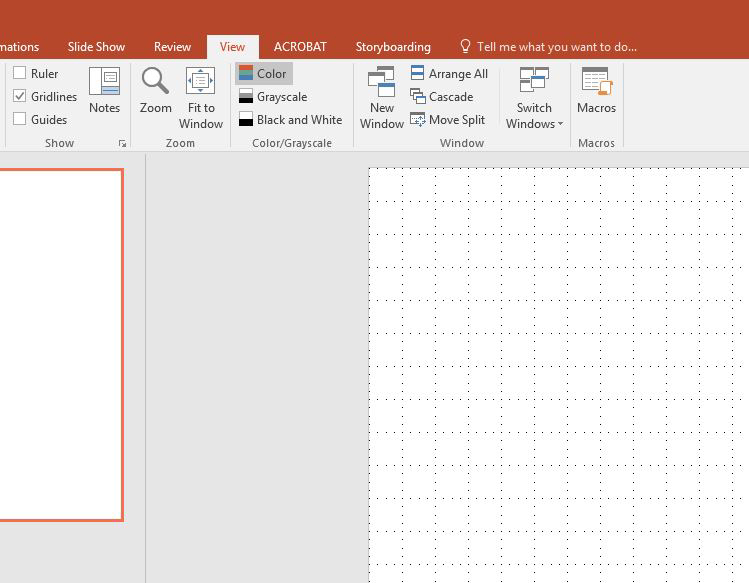
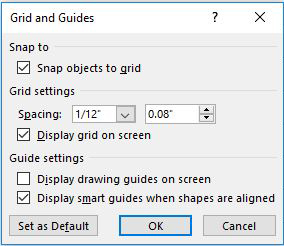
- To edit the spacing of the Gridlines, click the pop-out button in the Show section
- Once the Grid and Guides box opens, you can change the spacing and snap objects to the grid
- Individual objects
- Click on the object you want to align
- Click on the Format Tab underneath Drawing Tools or Picture Tools
- In the Arrange section, select Align and click on the alignment you want